Source Link(Google.com.pk)
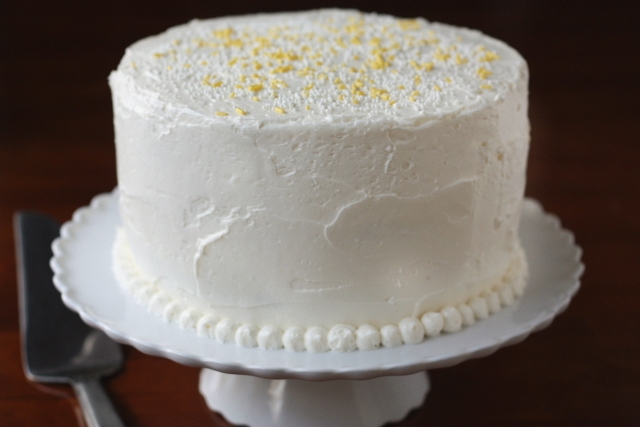
The recipe itself for this cake is really just a very slightly adapted version of some of the other vanilla cakes I’ve posted (like this and this) but enough for 4 layers, paired with one of my best-loved sweeter frosting: a quick and easy (but super creamy and delightful) Whipped Vanilla Frosting that, as a result of whipping the butter and the blended frosting, tastes like creamy ice cream, and there is no sugary residue or chalky texture as with some sweet frosting. With an all-butter base and the addition of pure vanilla (and often vanilla bean), there’s an authenticity to it, even with all of that icing sugar. It also has a glide factor that makes it wonderful when applying it to the cake. I use this recipe anytime I need a fast fix or when baking for those attached to bakery frosting memories from childhood (although, isn’t that all of us?).
The reason I’ve put it together again for this post (aside from the slight adaptations of the cake), is because I’ve never posted it for a full 4-layer version of the cake, which is a simple way to make the cake party-worthy, along with some , again, quick and easy decorating I do when I can’t spend oodles of time on a cake. Truth is, sometimes even if I have the time, I still prefer cakes like these, and cakes that trigger all of my childhood memories.
If you knew Reese, you’d know that, like most 5-year-old little girls, she’s devoted to pink. And cake. And anything involving tutus and twirls, so the simple addition of a few retro ballerinas and sprinkles really fancies it up. In the past, I’ve done cakes for the girls that have taken me a week to do, but honestly, not only could I simply not make that happen this time with all of the party prep, but it wasn’t necessary. You know I love that kind of thing, so it’s not to say I won’t make more of those for her down the road, but this cake was enough to make all the girls giddy (even the moms!).
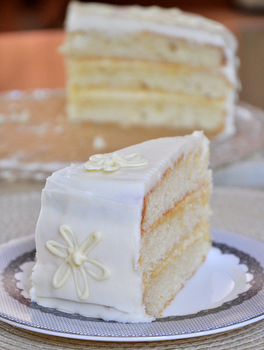
The best part about this kind of moist, buttery white cake is that it pairs nicely with this type of sweeter party frosting, as I like to call it, as well my all-time favourite, Swiss Meringue Buttercream. I took the super-simple approach of filling and frosting the cake with the same thing, but I’ve also filled this cake with strawberries and whipped cream, lemon curd, homemade jam, and more. Just remember that for best results with these cake layers, you really need to weigh your ingredients. It really is the only way to guarantee cake success with this recipe–I promise!
And before I go, I thought it would be fun to share a short home video of Reese when she was 2 years old (I don’t normally share home videos, but just for fun!) This was at a little family dinner at my dad’s for her 2nd birthday (notice one of the early fondant cakes I made–apparently I thought we were serving a few million), and although it’s just your standard Happy Birthday song video, I love the look of wonder in her eyes and the fact that she was almost going to bust of excitement–it’s kind of what this whole baking thing is all about.
And, if you have 3 minutes and 24 seconds to fill, you can watch my all-time favourite video of Reese here. It has nothing to do with cake or birthdays, but funny as can be.
These videos may make me cry, but I hope they make you smile.
Perfectly Delightful Vanilla Birthday Cake
Yield: One 4-layer, 8-inch round cake
Ingredients
1-1/2 cup (360 ml) whole milk, at room temperature
7 large egg whites (210 g), at room temperature
1 whole egg, at room temperature
1 tablespoon (15 ml) pure vanilla extract
1/2 teaspoon (2.5 ml) almond extract
3-3/4 cups (430 g) cake flour, sifted
2-1/4 cups (450 g) sugar
1-3/4 tablespoons (25 g) baking powder
1 teaspoon salt (8 g)
1-1/2 sticks (170 g) unsalted butter, at room temperature and cut into cubes
6 tablespoons (85 g) vegetable shortening
For the Whipped Vanilla Frosting:
2-1/2 cups (5 sticks)(575 g) unsalted butter, softened and cut into cubes
5-1/4 cups (600 g) confectioners’ sugar, sifted
4-1/2 tablespoons (70 ml) milk
1-1/2 tablespoons (23 ml) pure vanilla extract
pinch or two of salt
few drops pink gel colour
pastel sugar pearls (I used 4mm), or any other sprinkles for decorating
Instructions
For the Cake:
Preheat oven to 350°F (180°C). Grease, line with parchment and flour two round 8-inch pans (you will be using each one twice), or four 8-inch pans (if you're lucky enough to have four on hand). I use Parchment Paper Circles for ease.
In a medium bowl or measuring cup, combine and stir 1/2 cup of the milk, stir the egg whites, whole egg, vanilla and the almond extract. Set aside.
Sift cake flour twice. In the bowl of an electric mixer fitted with the paddle attachment, combine the dry ingredients, including the sugar, together on low-speed (I use the “stir” setting on my mixer) for 30 seconds.
Add the butter and shortening, blending on low-speed for about 30 seconds, then add remaining 1 cup of milk, and mix on low-speed until just moistened. Increase to medium speed and mix for 1 -1/2 minutes (90 seconds), but no more.
Scrape the sides of the bowl and begin to add the egg/milk/extract mixture in 3 separate batches; beat on medium speed for 20 seconds after each addition.
Pour 1/4 of your batter (~2 cups)(445 grams) into each prepared pan (if you have 2 pans, you will bake 2 layers first followed by the remaining 2), spreading it evenly with a small offset palette knife. If possible, weigh the batter in the pans to ensure 2 even layers.
Bake cake layers two-at-a-time in center of oven and 2" apart for 20 minutes or until a cake tester comes clean when inserted into the center. Be so careful to not over-bake. Check cake at 20 minutes, but not before, and once you feel it’s almost ready, set the timer for 2 minute intervals. Let cool on racks for 10 minutes before loosening the sides with a small metal spatula, and invert onto greased wire racks. Gently turn cakes back up, so the tops are up and cool completely.
Wash the 2 cake pans and line, grease and flour again and repeat.
Wrap tightly and store at room temperature for up to 2 days, refrigerator for up to 5 days, or frozen for up to 2 months. Best enjoyed day 1 or 2.
For the Whipped Vanilla Frosting:
In the bowl of an electric mixer fitted with the paddle attachment, whip butter for 8 minutes on medium speed (I use “4″ on my KitchenAid). Butter will become very pale & creamy.
Add remaining ingredients and mix on low-speed for 1 minute, then on medium speed for 6 minutes. Frosting will be very light, creamy, and fluffy. If you want all of your frosting (for filling and frosting cake) pink, then add a drop of pink gel colour and mix again, adding one drop at a time until desired pink shade is achieved (see notes). If you want just the outside of the cake pink, you will fill the cake layers first, and then colour the remaining frosting pink.
Best used right away (for ideal spreading consistency), but keeps well once frosted.
Assembly of the Perfectly Delightful Vanilla Birthday Cake
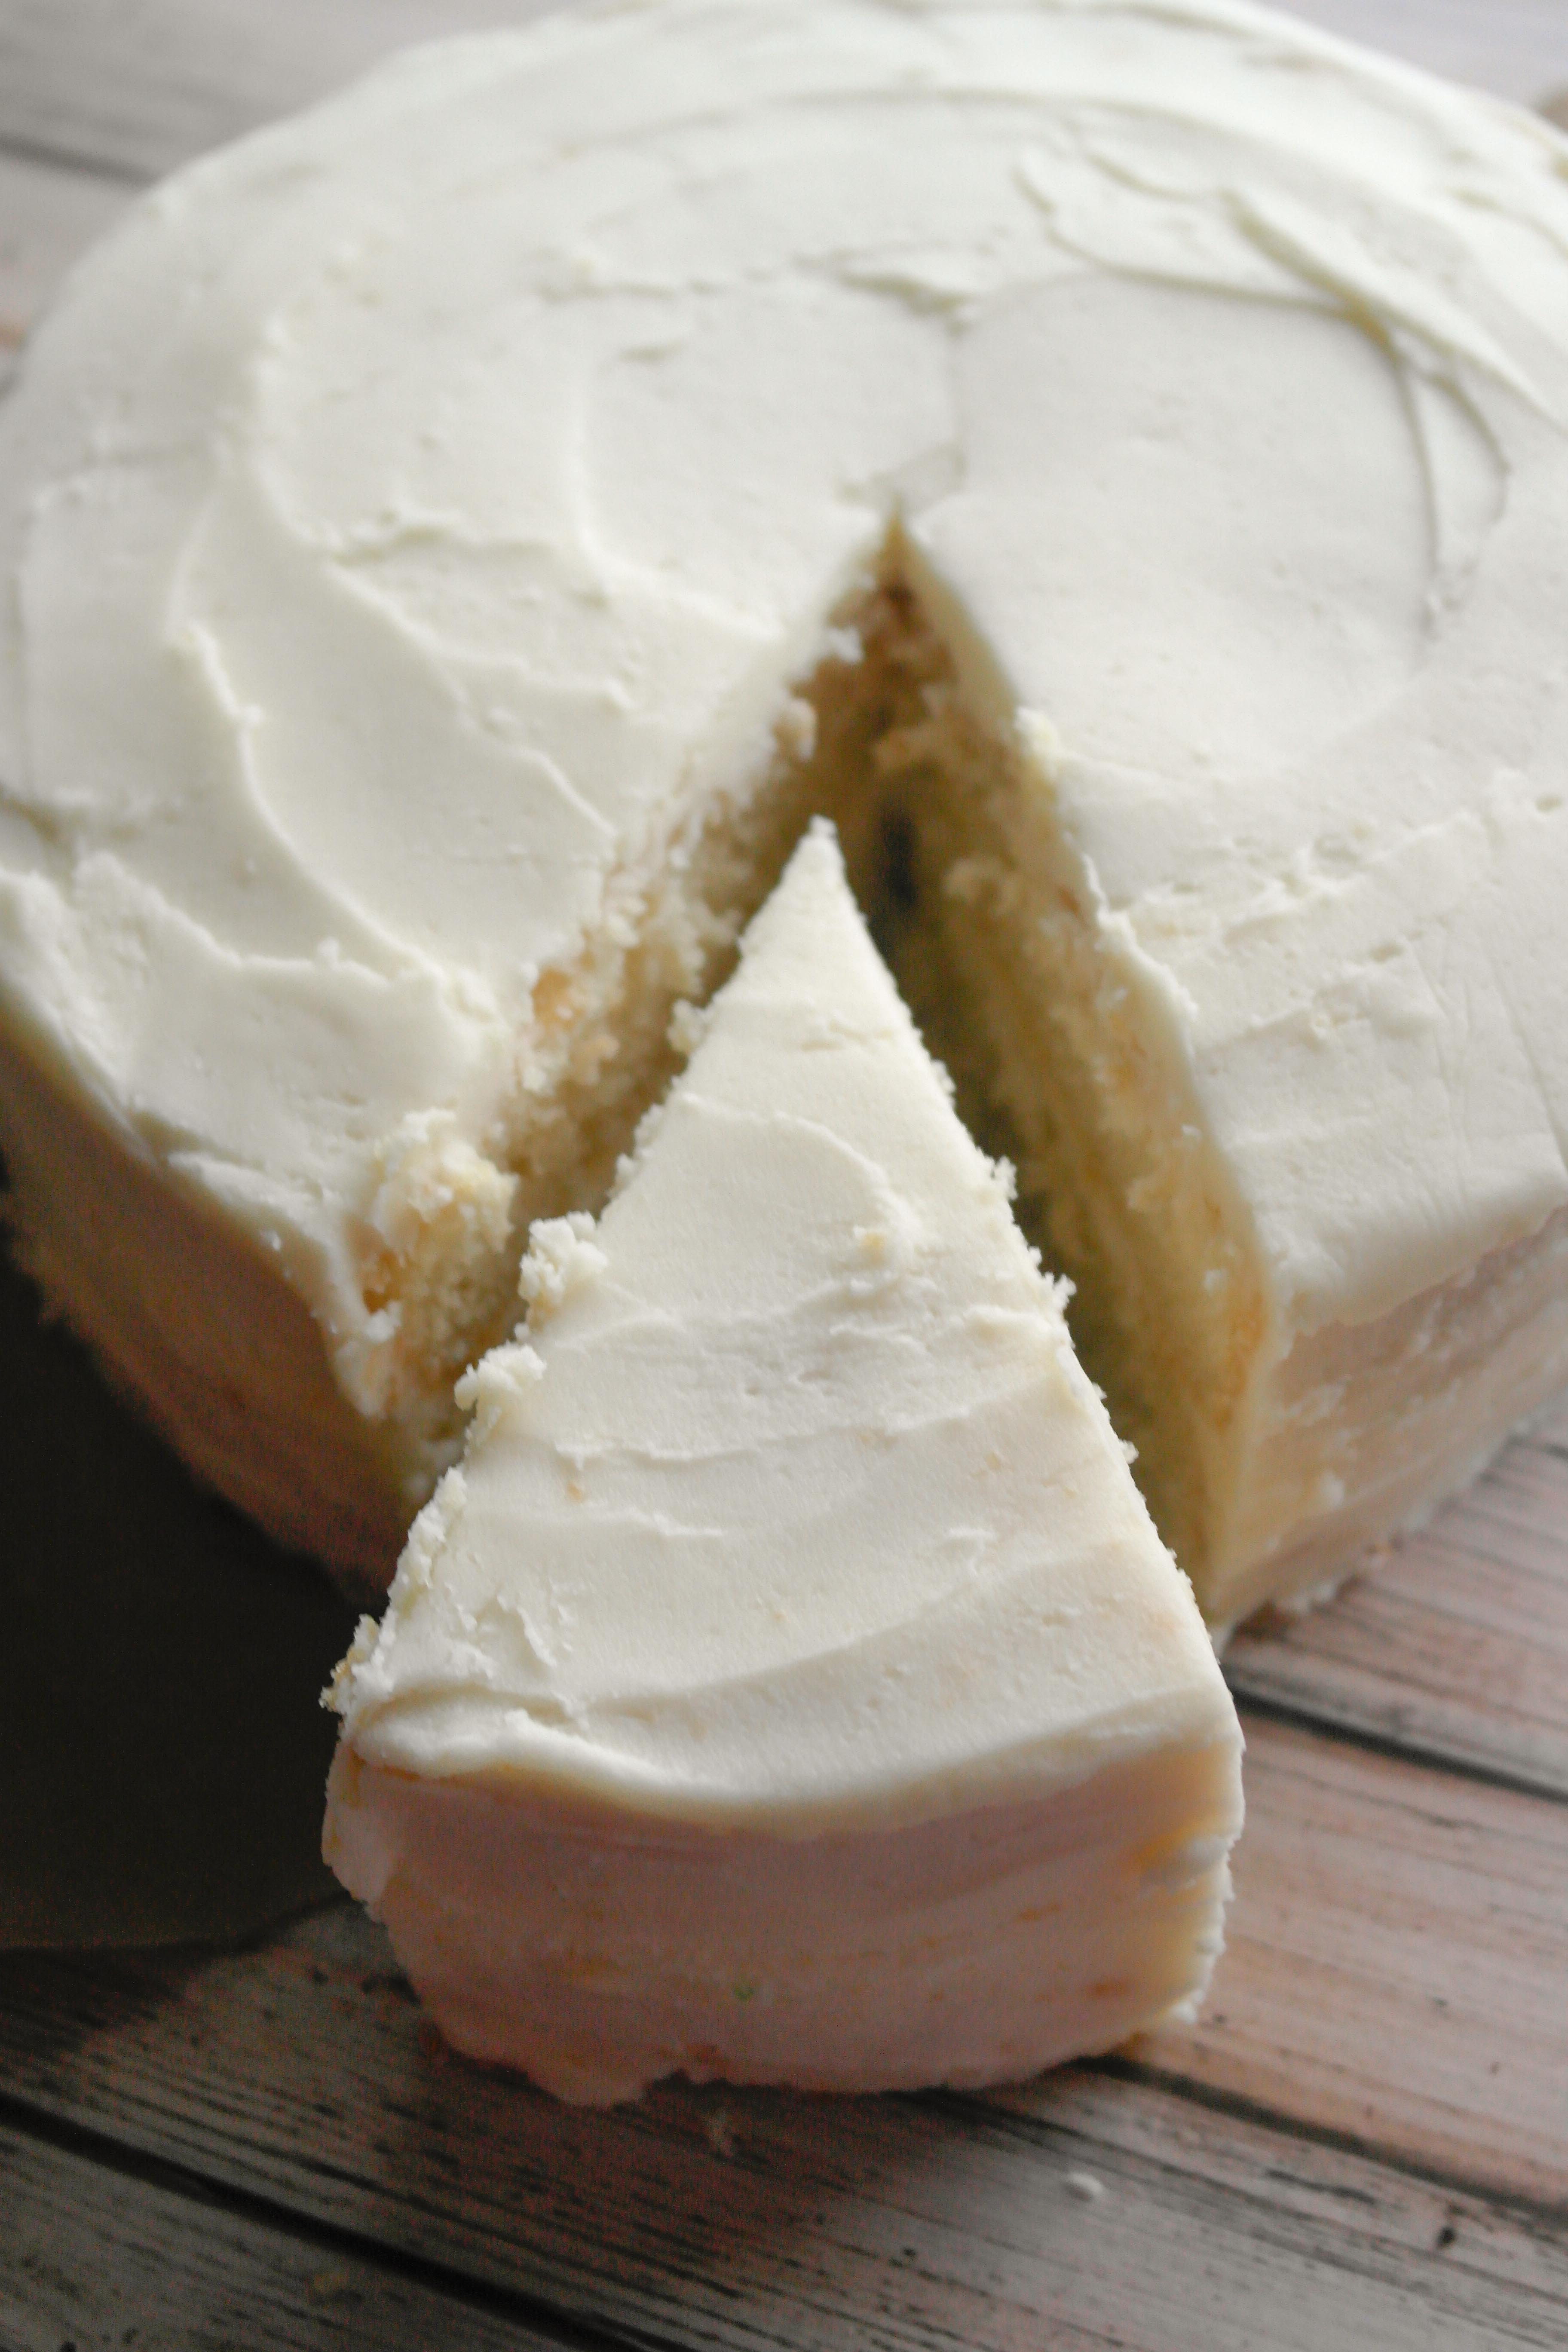
Trim any doming or top crust from cake layers using a very sharp serrated knife.
Use a cake turntable for filling, frosting and decorating, if a possible. Place a small dollop of frosting in the center of a cake plate or 8″ round thin foil-covered cake board, and place the bottom cake layer on top, face-up.
Place ~1 cup of frosting on top of the cake layer, and spread evenly with a small offset palette knife. Gently place 2nd cake layer, face up, on top. Repeat until you come to your 4th layer, which you will place face down.
Put a generous scoop of frosting on top, spreading evenly with a small offset palette knife and working your way down the sides until you have a thin layer of frosting over the entire cake. Chill until set, about 30 minutes.
Remove from refrigerator and apply another "coat" of frosting.
For the top of the cake border, place a large star decorating tip (I used 1E) in a large Decorating Bag filled no more than 1/2 full with pink frosting.
Hold pastry bag in one hand (your dominant hand) and slowly rotate the turntable with the other. Holding frosting-filled bag at a directly above the top of the cake (90° angle), squeeze a small bit of frosting and turn the table a bit at the same time, releasing pressure slowly then stop (this will create a tapered decoration). Repeat all the way around the cake, overlapping slightly each time you pipe a new "shell."
For bottom border, you will want to have the cake on the plate or pedestal which you plan to serve it upon. Fill another pastry bag the same way, and this time use tip 1M. You will pipe at about a 45° angle this time (give or take). Sprinkle with your favourite sugar pearls or sprinkles atop the top border. For some kitschy charm, add a few Vintage Ballerina Cupcake Toppers to your cake!
Store, covered in a cake dome, at room temperature for up to 2 days, or in refrigerator for up to 5 days. Best enjoyed day 1 or 2 at room temperature.
Vanilla Cake Recipes Recipe For Carrot Banana Vanilla Sponge Carrot Fruit Cake Photos
Vanilla Cake Recipes Recipe For Carrot Banana Vanilla Sponge Carrot Fruit Cake Photos
Vanilla Cake Recipes Recipe For Carrot Banana Vanilla Sponge Carrot Fruit Cake Photos

Vanilla Cake Recipes Recipe For Carrot Banana Vanilla Sponge Carrot Fruit Cake Photos

Vanilla Cake Recipes Recipe For Carrot Banana Vanilla Sponge Carrot Fruit Cake Photos

Vanilla Cake Recipes Recipe For Carrot Banana Vanilla Sponge Carrot Fruit Cake Photos

Vanilla Cake Recipes Recipe For Carrot Banana Vanilla Sponge Carrot Fruit Cake Photos

Vanilla Cake Recipes Recipe For Carrot Banana Vanilla Sponge Carrot Fruit Cake Photos
Vanilla Cake Recipes Recipe For Carrot Banana Vanilla Sponge Carrot Fruit Cake Photos
Vanilla Cake Recipes Recipe For Carrot Banana Vanilla Sponge Carrot Fruit Cake Photos
Vanilla Cake Recipes Recipe For Carrot Banana Vanilla Sponge Carrot Fruit Cake Photos
No comments:
Post a Comment